
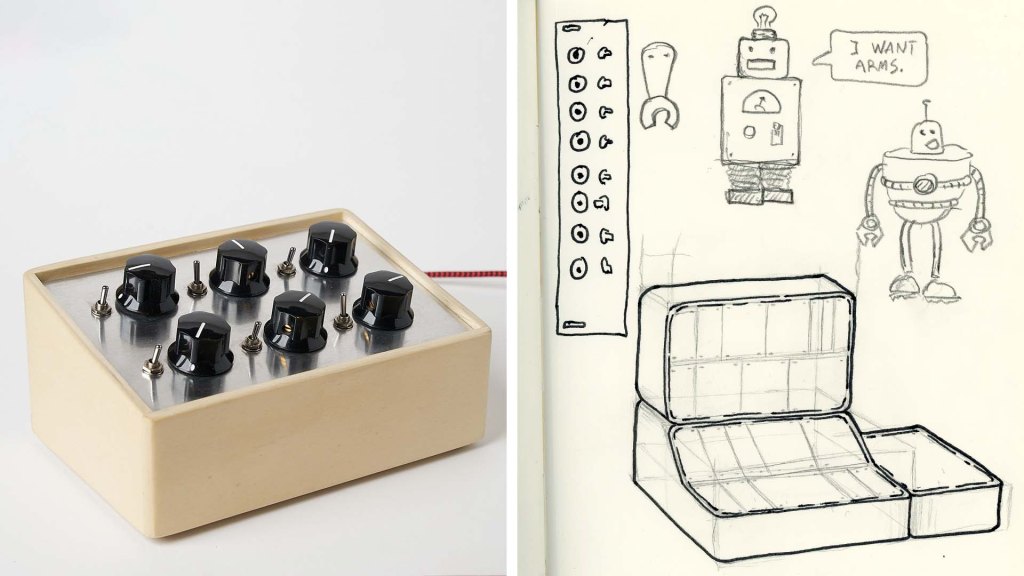
This midi controller is very simple. I was inspired by a thin sheet of aluminum I found in an electronics store in Germany that looked like it could use some knobs. I’d already been sketching some eurorack case designs – because I’m a nerd – so I used those as design inspiration. The very clean angles, rounded edges, and evenly spaced holes in the front panel are courtesy of my father’s very nice scroll saw, belt sander, and drill press, respectively. The front panel is just pressed into place. If it ever gets loose I’ll probably just glue it. Plus not having any screws on the face makes it look nice and sleek.

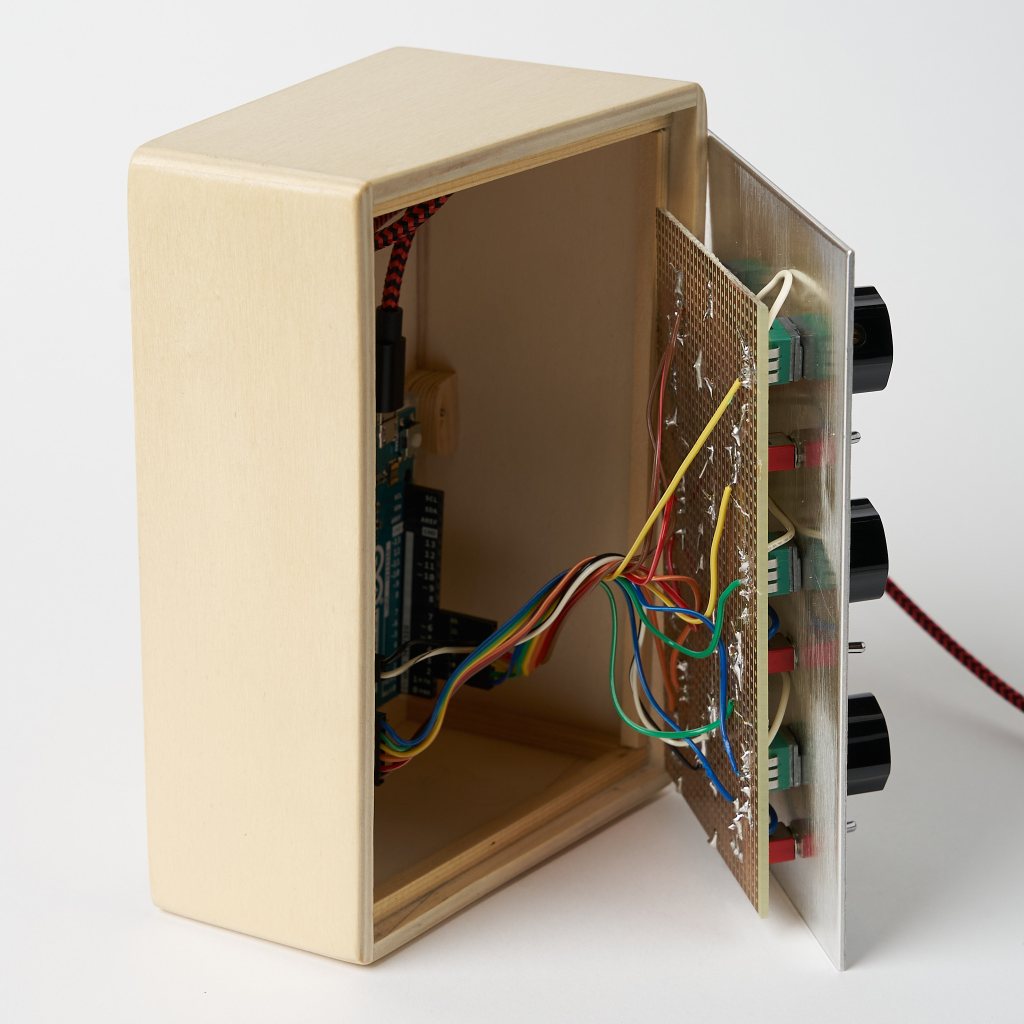
Doing all the midi controller-ing is a little Arduino, programmed using this tutorial by Notes and Volts. With only 6 knobs and 6 switches, you can plug all of the controls directly into the Arduino without needing any multiplexers. I drilled the holes in the faceplate to match the spacing of a breadboard. I thought putting all the pots and switches on a breadboard would make the wiring easier, but I’m not sure it actually did. After I put it all together I stuck some rubber feet to the bottom that you can’t see in any of the pictures but are very helpful in keeping this very light and smooth little thing from scooting all over the place.

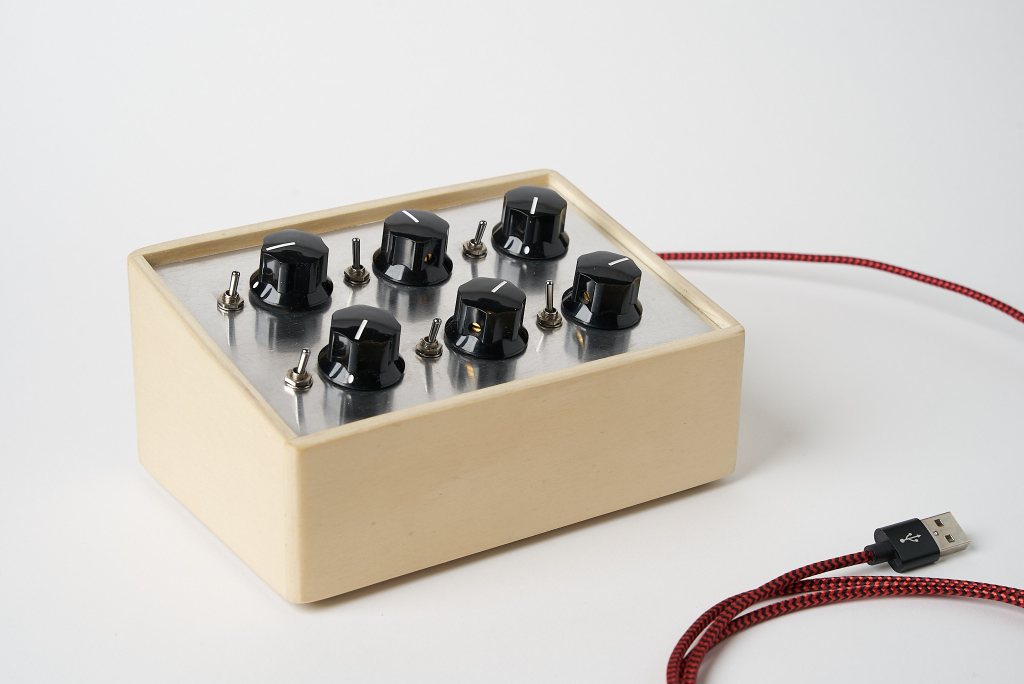
I don’t use this controller all that often, but the big knobs are really nice for “performing” things with so it does see some use. The switches are regular on/off switches, but a good and simple upgrade would be to use switches with a momentary on position in addition to a regular on. Especially for doing things like triggering this Soundtoys Primal Tap delay freeze:
