r_e_c_u_r is an open, diy video sampler built around a raspberry pi. It was created by cyberboy666 and user43368831. It can do all kinds of complicated video processing and shader playback stuff, but fundamentally it gives you multiple banks of 10 video clips which you can queue up using a number pad, and on triggering the clip it’ll seamlessly start playing/looping. There are very few other hardware video samplers that don’t require a computer. Pretty much all of them have been discontinued and go for at least $1000 on the used market. All in this probably cost me around $100 to build, including ordering custom PCBs, so it’s a bit of a no brainer if you’re looking for a stand alone solution to do video sampling with.
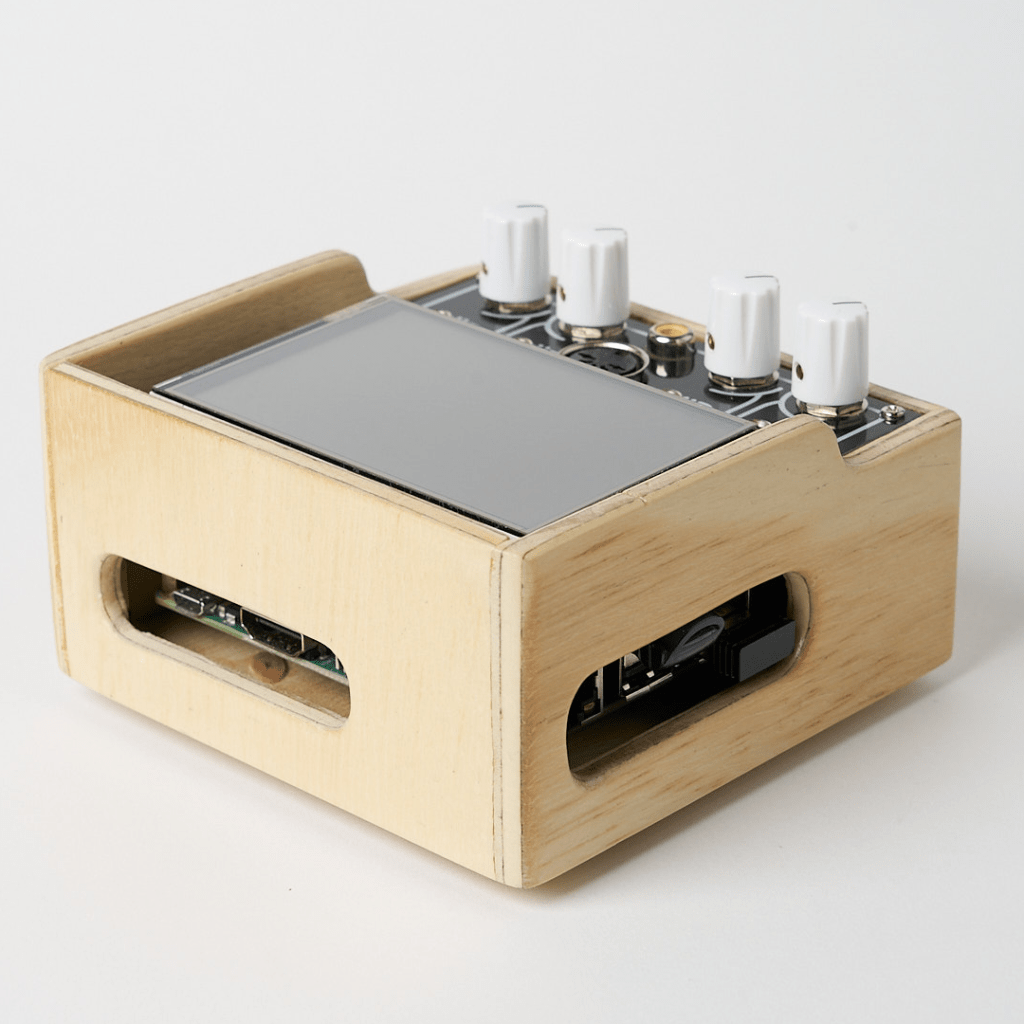
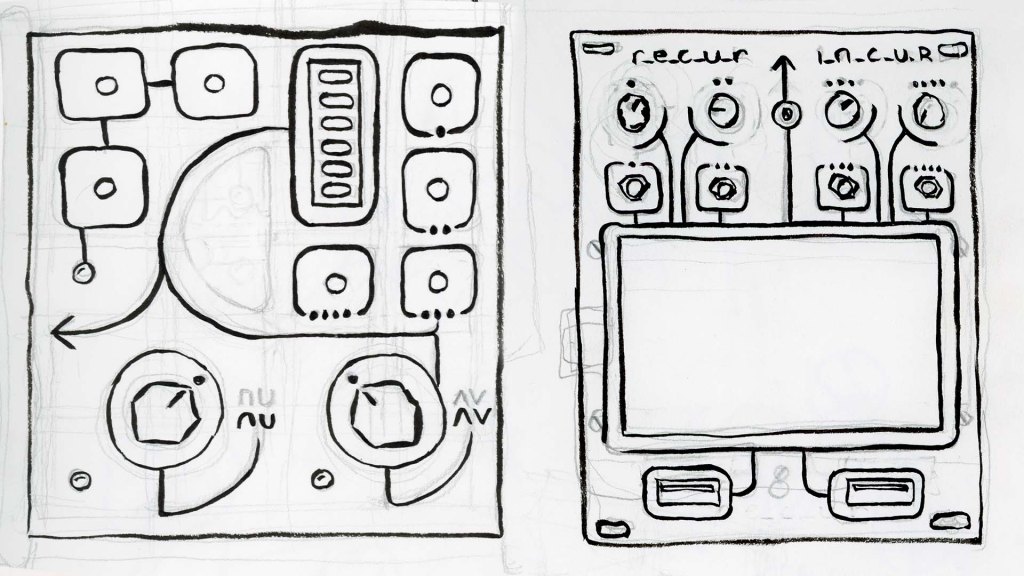
In its simplest form the build doesn’t require any soldering – just a raspberry pi, a usb numpad, a screen, and an analog video cable adaptor. The github project even has files for a snazzy 3d-printable case. But because almost all of my diy synthesizer bits have plywood cases (and my r-e-c-u-r’s primary purpose is to hang out with my video synthesizer) I wanted to give my r_e_c_u_r one too. There is an optional add on board called i_n_c_u_r which adds a din midi jack, 4 cv inputs and 4 knobs for control. It’s kinda useful for controlling shader parameters, but the refresh rate is really slow, so in practice I don’t really use them… but I DO find the box so much cuter with its 4 little knobs.
I dithered for a while about whether or not to make a eurorack faceplate to mount the r_e_c_u_r directly in my video synthesizer, but ultimately I decided to turn it into a stand alone box. Figuring out how to power the pi from the eurorack power supply seemed difficult, and rack space in the synth is at a pretty steep premium.

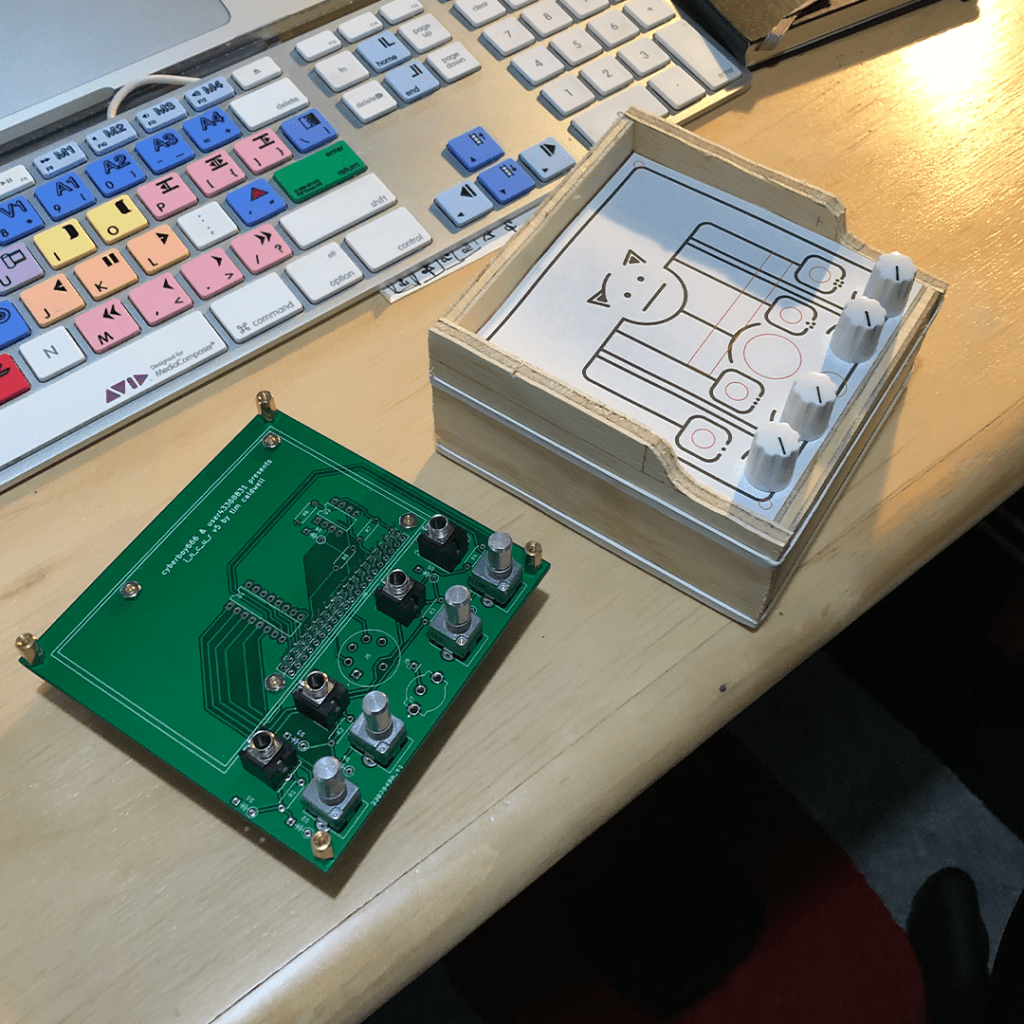
There are files for a 3d printable face plate for the i_n_c_u_r add on board on the github as well. But I don’t have a 3d printer so I opted for more diy-ing. My first thought was to use a sheet of clear acrylic with a hand-drawn cardstock panel underneath, but I didn’t have the tools to make clean and precise enough cuts in the acrylic (also the acrylic sheet I bought was way too thick). So method number 2 was to learn kicad and get the faceplate manufactured as a pcb. I’m pretty happy with the result. If anyone wants to order their own faceplate I’ll upload the gerber files here soon.


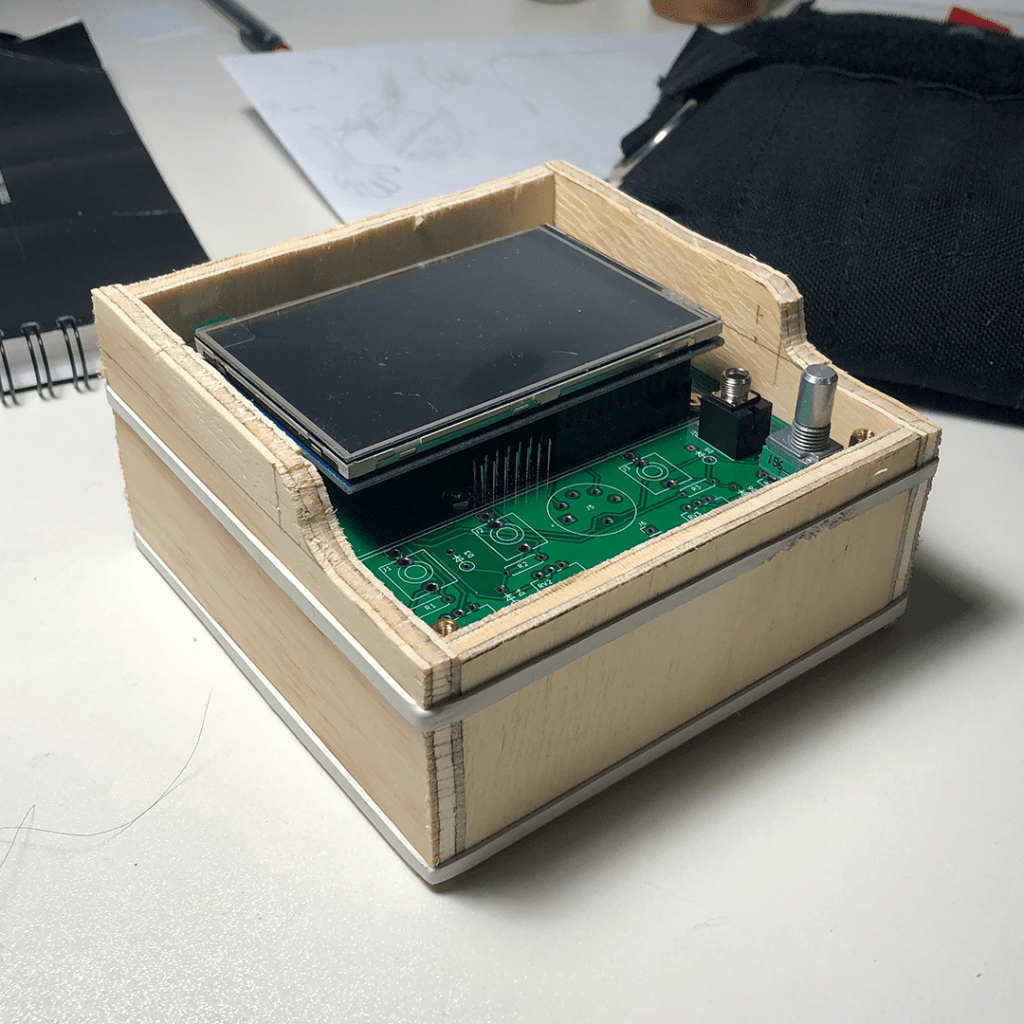
The final assembly is 3 PCBs deep – the raspberry pi, the i_n_c_u_r board, and my faceplate – with the pi screen on top. I assembled everything with spacers and attached the whole thing to the bottom of the case with hot glue. This makes the final box look pretty cool, with only 4 little screws on the faceplate holding everything together, but it’s a hige pain in the butt to take apart to troubleshoot. Not only do you need to take apart all the laters to get to the pi at the bottom, but the spacers are extremely close to the edge of the enclosure which makes screwing them in and out really cumbersome. The box is a simple plywood design, with a lot of sanding to compensate for my wobbly job cutting the side panels out.

I highly recommend building a r_e_c_u_r if you’re interested! It’s super convenient to have a hardware looper around. The build is super well documented too. There’s lots of info on the github, as well as on the scanlines forum and the user group on facebook.